![]()
![]()
![]()
WordPress comes with specific debugging systems designed to simplify the process of debugging PHP code, as well as to standardise code across the following core, plugins, and themes.
You can enable the debugging code directly to cPanel or within your client portal (If you cannot remember your password, there is a password reset link).
Step 1 (a) - Logging into cPanel directly
You can log in directly to your cPanel account by using your domain name followed by /cPanel in the URL.
e.g - https://domainname.co.uk/cpanel (Note, please change domainname.co.uk to your own domain name)
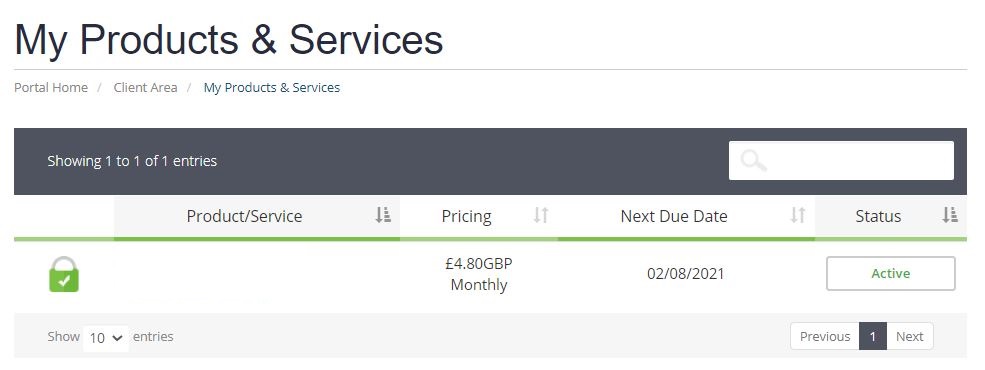
Step 1 (b) - Logging into cPanel via the Client Portal
Once logged in to your client portal, click on the "Services" tab and then "My Services". Select the "active" button (under the "Status" column) for the service you wish to update.
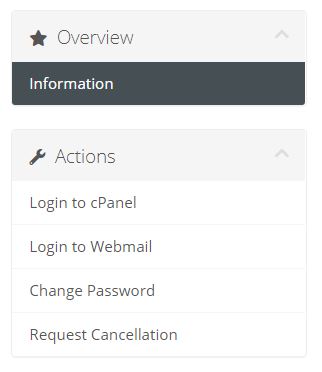
On the left-hand side, you will see the Overview section. Click on Login to cPanel.
Step 2
To enable the debugging mode you will need to locate the WP-Config file from your cPanel account.
Once logged into your cPanel account, scroll down to the Files section and click on File Manager.

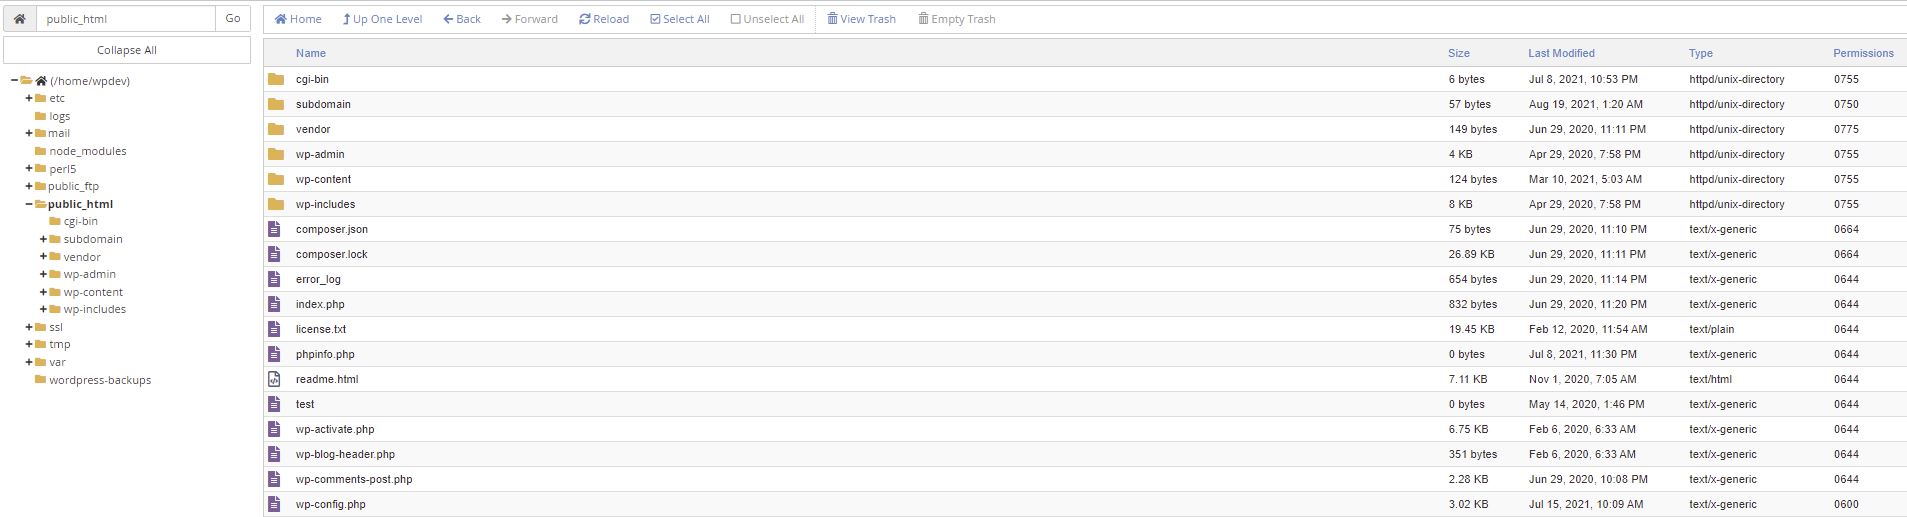
Step 3
Select the "Public_html" folder and select the file "wp-config.php" file. Click on download.
Step 4
Open the file in a text editor such as notepad. To edit the file simply make the change you require:
define( ‘WP_DEBUG’, true );define( ‘WP_DEBUG_LOG’, true );
Need further information?
For more in-depth assistance on debugging in WordPress, take a look at WordPress documentation:
[Debugging in WordPress | WordPress.org]
Alternatively, please contact the ProStack team via support ticket and we can help get this resolved for you! Get in touch today!
![]()
![]()
![]()
