![]()
![]()
![]()
In this tutorial, you will be shown how to modify your local hosts file, in order to manually configure where a domain points to on your local machine.
This is useful after (or during) a migration, as you are able to browse and test your website on our servers before the site goes live on your new platform. To discuss [migrating your hosting to ProStack for free], contact us via our website.
Modifying your host's file 'overrides' DNS, allowing you to resolve your site to our servers even if DNS hasn't been pointed to us yet. This process is simple and easy to revert.
Step 1 - Open a Terminal
Open Terminal on your Mac. This can be done by going to Applications --> Utilities --> Terminal. Your screen should then resemble this (you may have some different colours, but that's fine):
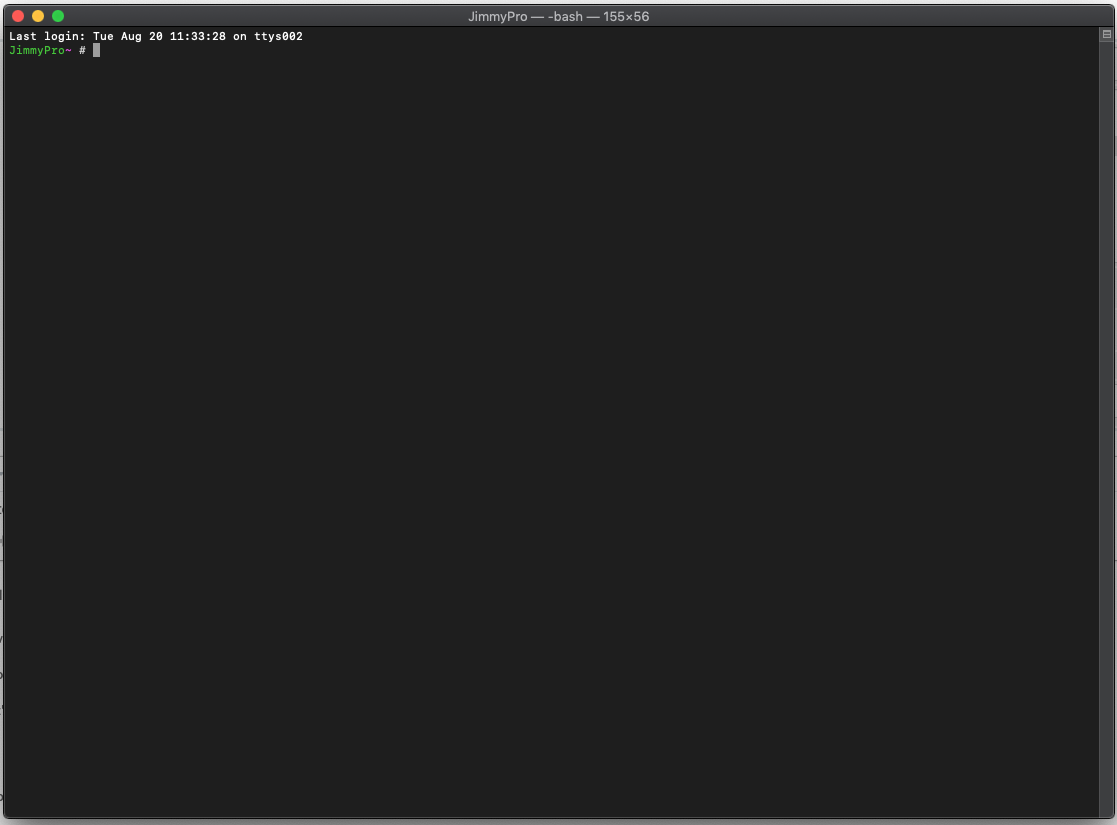
Note: You may wish to expand the terminal window a little to make it easier to read.
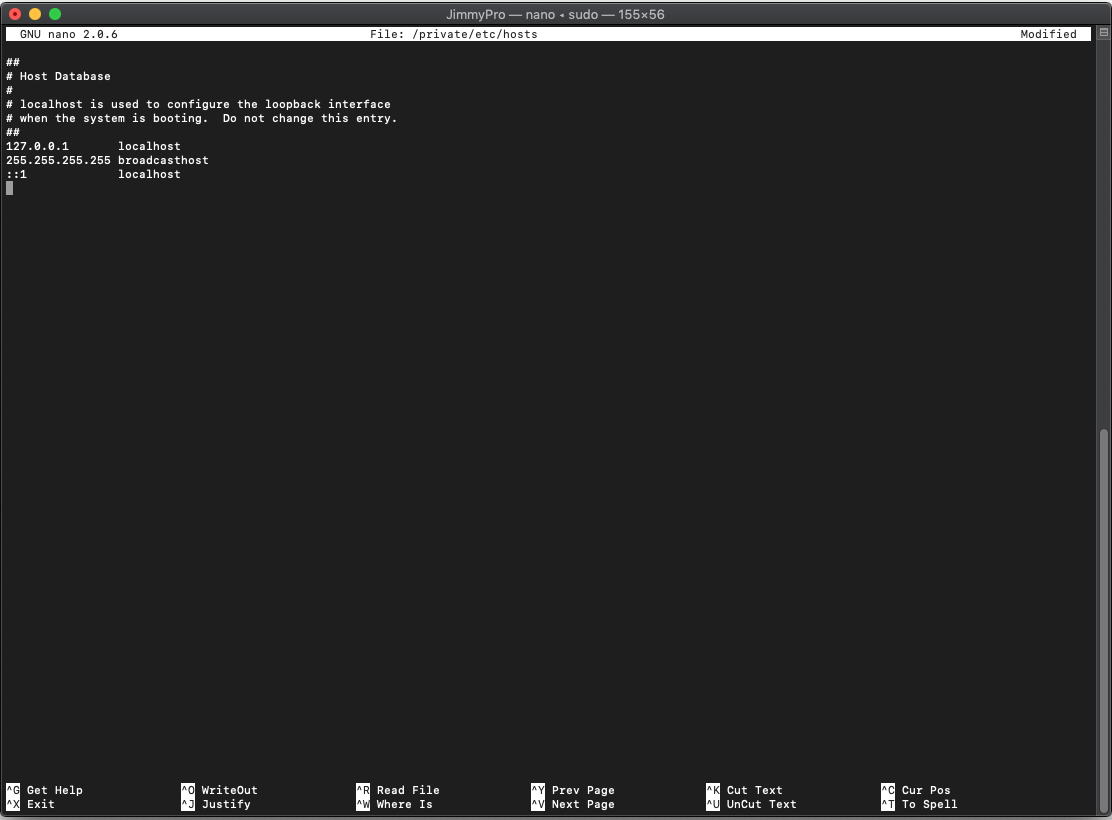
Step 2 - Open your hosts file
Type the following command to open your hosts file in the 'nano' text editor. You will be prompted for your Mac's password when you do this, since the hosts file is a system file:
sudo nano /private/etc/hosts
If you've never used a terminal-based editor before, nano might look a bit intimidating, but don't worry. Your screen will then look like this:
Step 3 - Add your lines
The hosts file contains a set of lines that 'override' DNS resolution, allowing you to point your own computer to our servers without actually modifying DNS. The format of these lines is quite simple:
<ip address> <hostname(s)>
Our support team may have provided the lines to add to your hosts file. If so, you can paste them in now. Just scroll down to a new line, right-click, and select 'paste'. If our support team hasn't provided you the appropriate lines, follow the format above.
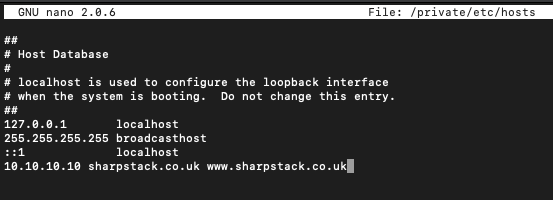
For example, in the screenshot above, we are pointing the domain 'sharpstack.co.uk' to '10.10.10.10'.
Step 4 - Save the hosts file
Saving in Nano is straightforward. Once you've made the changes, you can save them by pressing:
- CTRL + X (to open the save dialog- you'll see this at the bottom of Nano)
- Y (to confirm your save)
That's it! Once done, you'll exit out of nano and can close the terminal.
Step 5 - Reverting your changes
Reverting your changes is easy- simply delete the entire hosts file line you added.
Tip: CTRL + K deletes lines in Nano
TIP: Try our [Preview URL Tool] for an easier way to test sites before they go live! More information can be [found here].
Need further assistance?
If you have any questions on this or feel it's missing something, please get in touch with our support team. [Get in touch today!]

![]()
![]()
![]()
