Litespeed Cache for WordPress helps improve site performance, resulting in faster page load times for visitors.
It is an open-source plugin that communicates with your Litespeed webserver and the built-in LSWS cache to reduce page load times.
Its advanced optimization features are an all-in-one site acceleration solution.
Step 1 - How to install Litespeed cache for WordPress
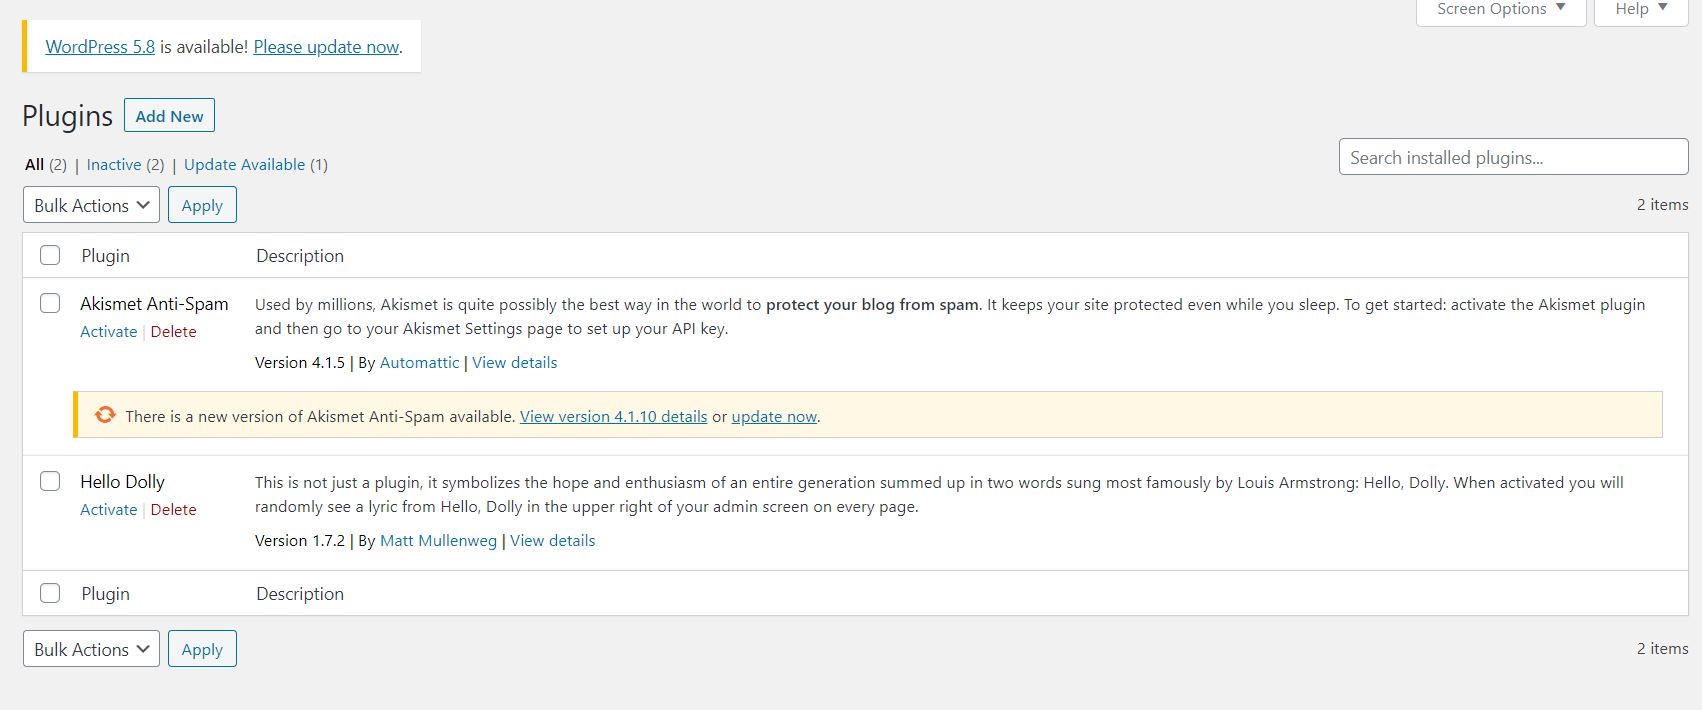
Login to your WordPress Administration panel.
Step 2
On the left-hand side, click on the Plugins section, and then click on Add New.
Step 3
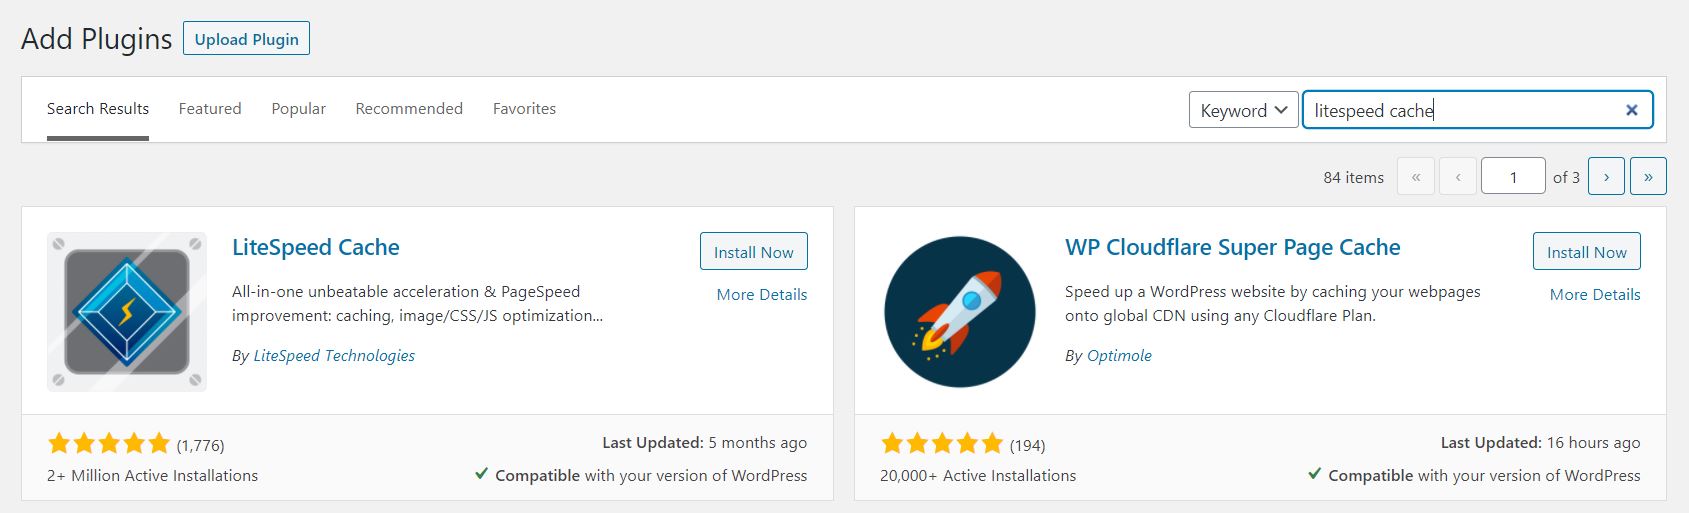
In the search bar on the right-hand side, type in Litespeed Cache. Click on Install Now from the Litespeed Cache section.
Step 4
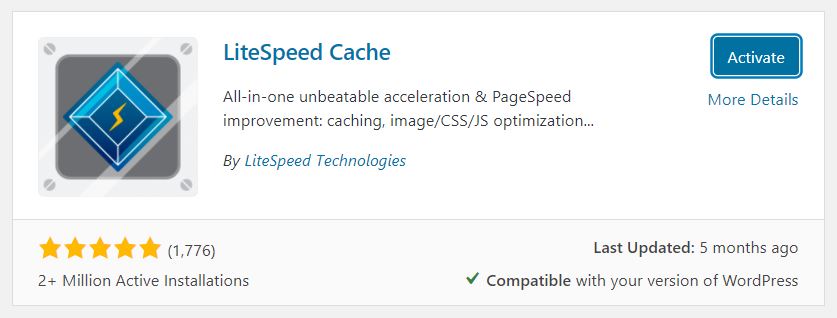
Once the Litespeed Cache has been installed, click on Plugins and then click on Activate.
Step 5
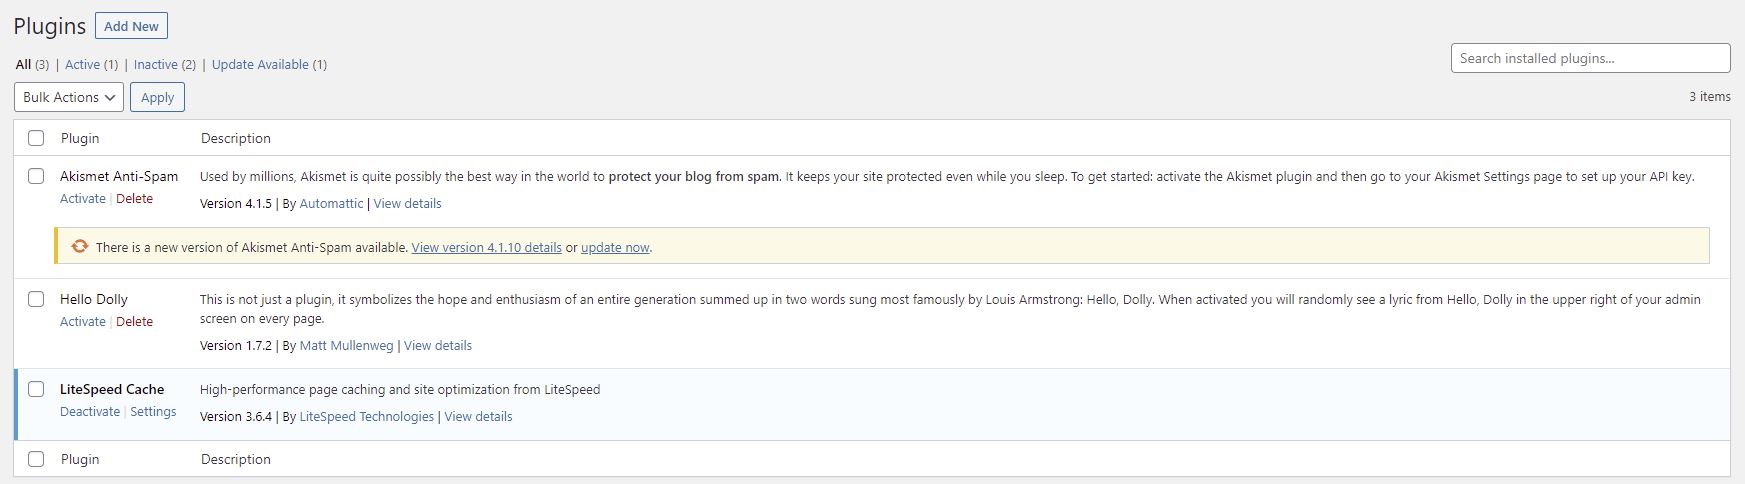
Go back to the Plugins section on the left-hand side and click on the Settings tab, under the LiteSpeed Cache section.
Step 6
Make sure Enable Cache is On.

Need further information?
For more in-depth assistance on installing LiteSpeed Cache for WordPress, take a look at Litespeed's documentation:
[Installation | LSCache for WordPress | LiteSpeed Documentation (litespeedtech.com)]
[Beginner's Guide | LSCache for WordPress | LiteSpeed Documentation (litespeedtech.com)]
Alternatively, please contact the ProStack team via support ticket and we can help get this resolved for you! [Get in touch today!]