This article will explain how you can stage a WordPress installation using Softaculous.
This allows you to test any upgrades or changes before applying it to the main site.
Step 1 (a) - Logging into cPanel directly
You can log in directly to your cPanel account by using your domain name followed by /cPanel in the URL.
e.g - https://domainname.co.uk/cpanel (Note, please change domainname.co.uk to your own domain name)
Step 1 (b) - Logging into cPanel via the Client Portal
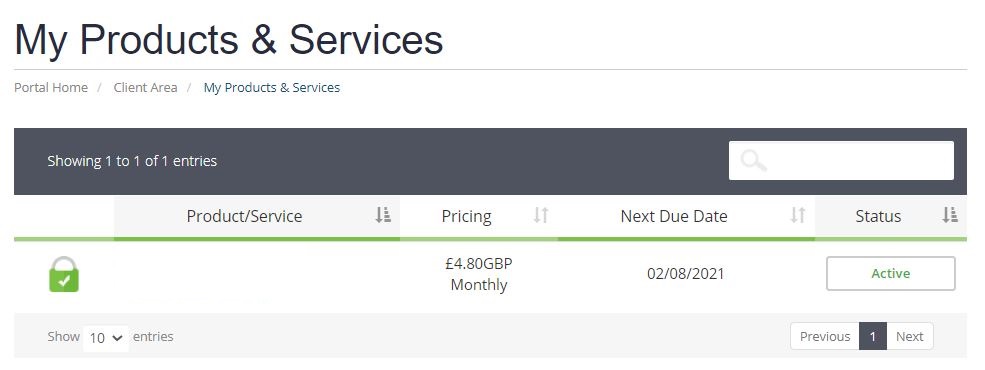
Once logged in to your client portal, click on the Services tab and then My Services. Select the active button (under the Status column) for the service you wish to update.
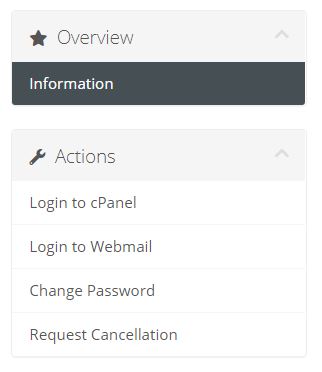
On the left-hand side, you will see the Overview section. Click on Login to cPanel.
Step 2
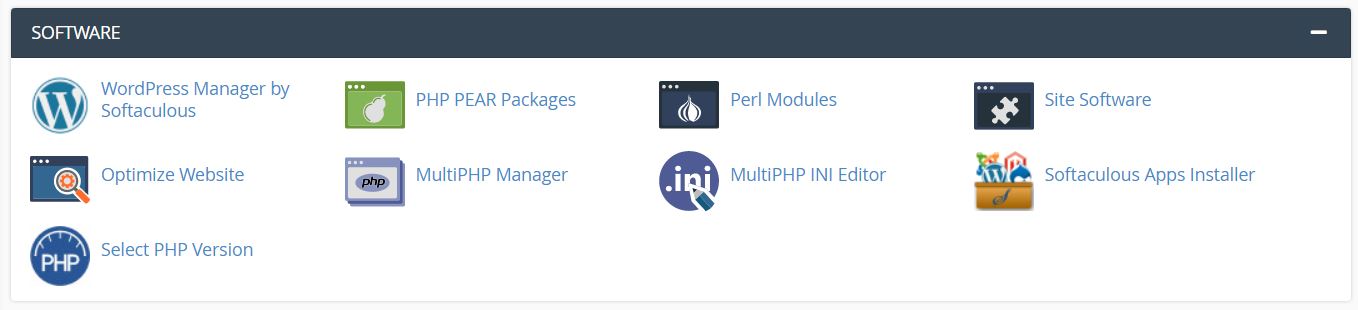
Once logged into cPanel, scroll down until you find the Software section, and click on Softaculous Apps Installer".
Step 3
The next page will display "Top Scripts" and you will see the section for "WordPress", alternatively if it's not visible for you, on the left-hand side, you can also search for "WordPress". Click on the "WordPress" section.
Step 4
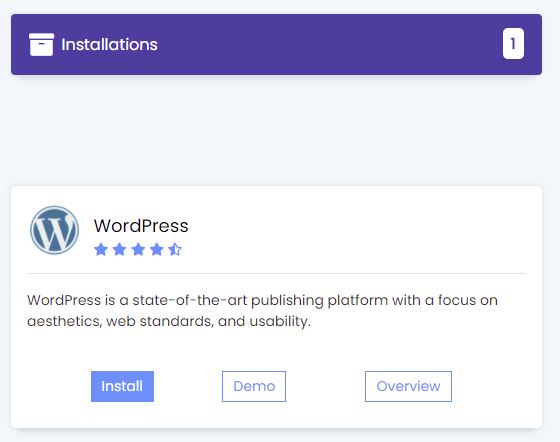
Scroll down until you see your current installations. Click on the "Create Staging" icon.

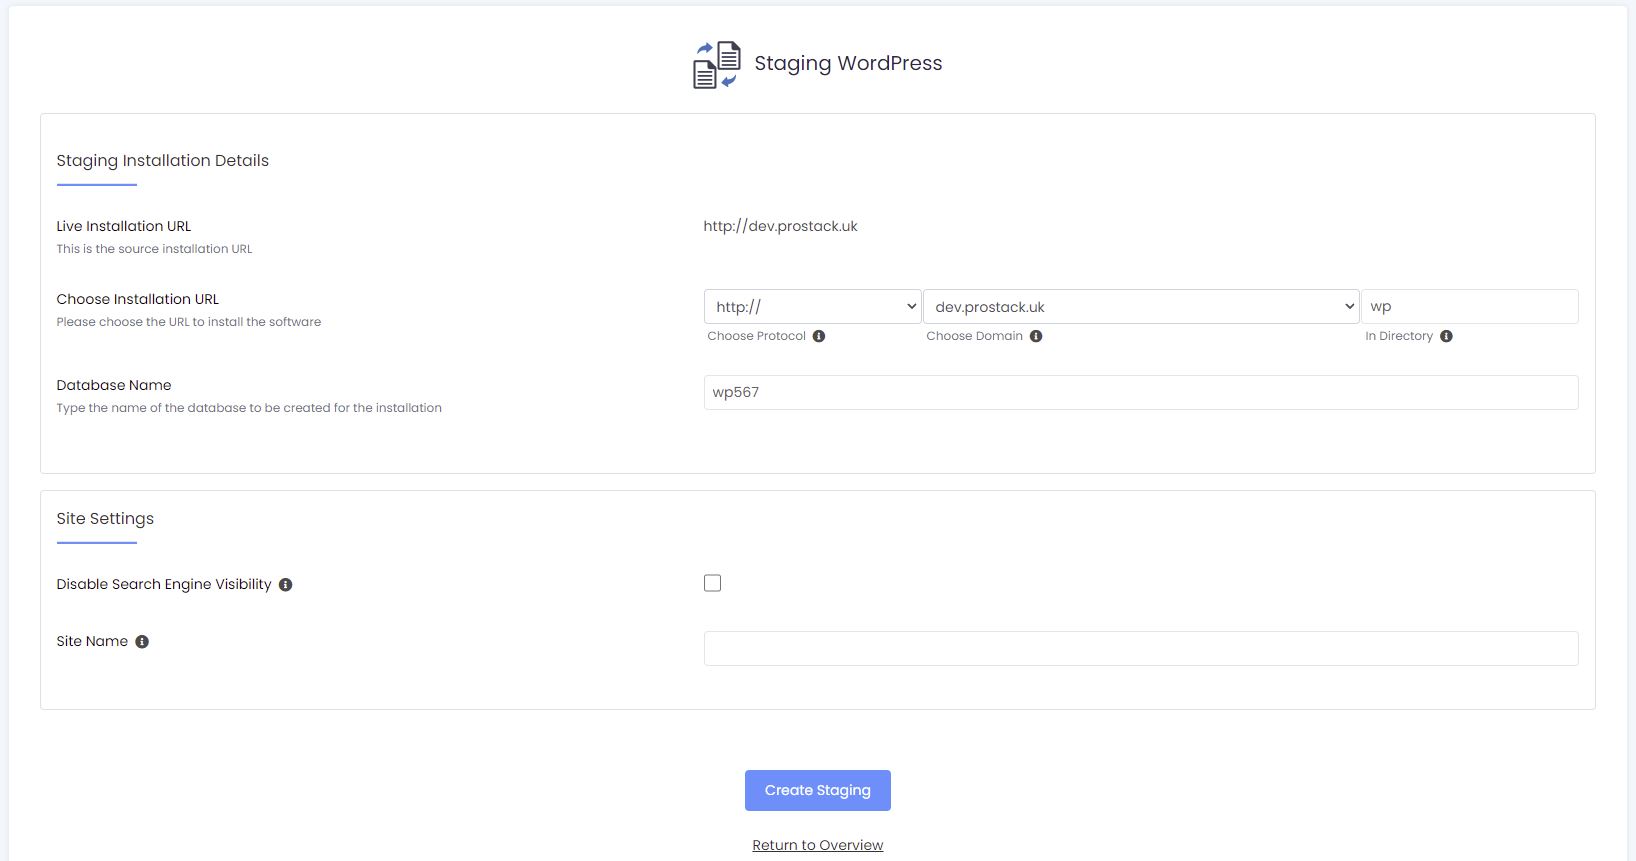
Step 5
Fill in the Staging WordPress details.
- Select the domain, the directory, and the database name.
- Click on the "Create Staging" button. Please note, that the time taken may vary depending on the size of your installation.
You can now use this installation to test updates and changes, as necessary.
Need further assistance?
If you require further assistance please contact the ProStack team and we can help get this resolved for you! Get in touch today!

![]()
![]()
![]()
