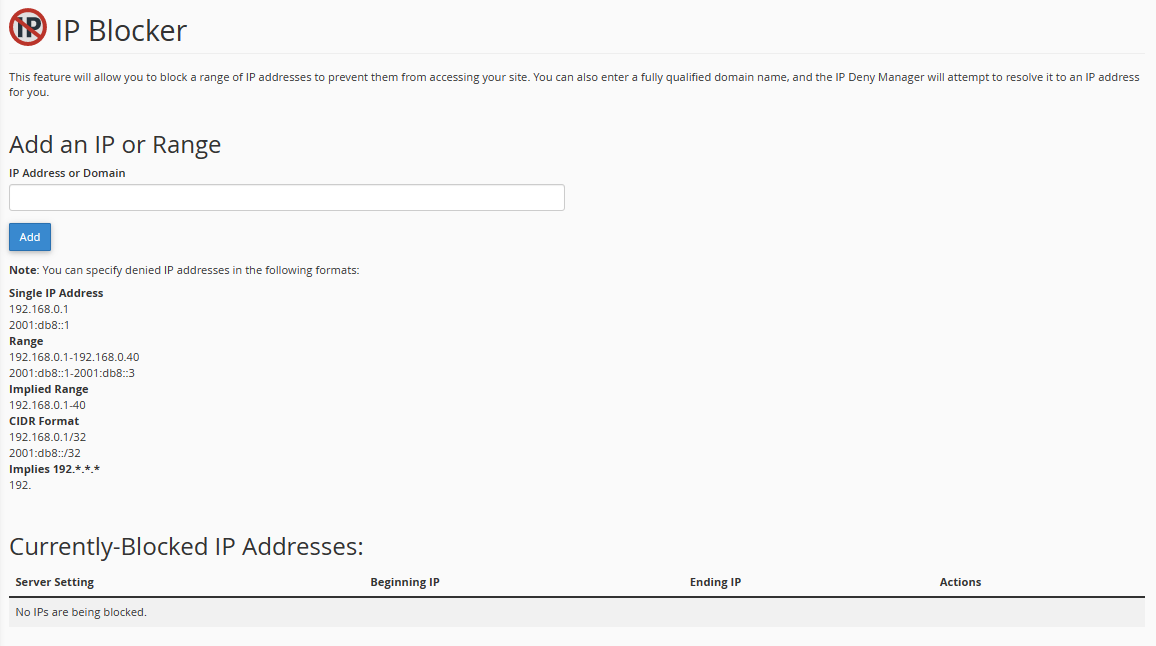
The IP Blocker in cPanel will allow you to block a range of IP addresses to prevent them from accessing your site.
It also allows you to enter a fully qualified domain name, and the IP Deny Manager will attempt to resolve it to an IP address for you.
Step 1 (a) - Logging into cPanel directly
You can log in directly to your cPanel account by using your domain name followed by /cPanel in the URL.
e.g - https://domainname.co.uk/cpanel (Note, please change domainname.co.uk to your own domain name)
Step 1 (b) - Logging into cPanel via the Client Portal
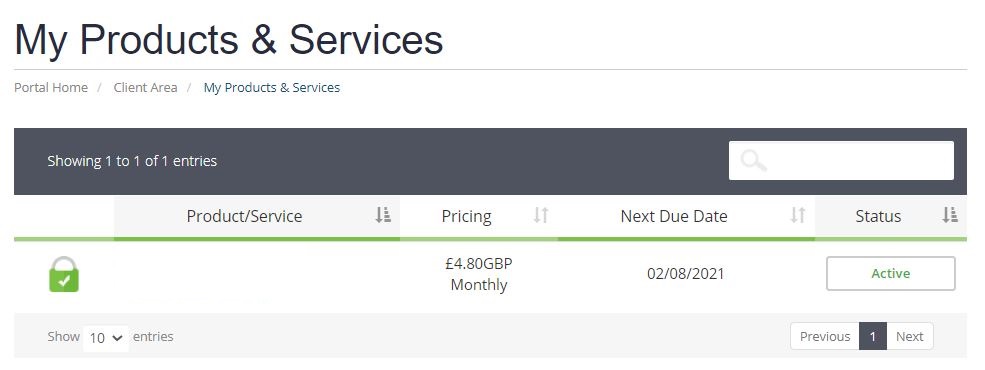
Once logged in to your client portal, click on the "Services" tab and then "My Services". Select the "active" button (under the "Status" column) for the service you wish to update.

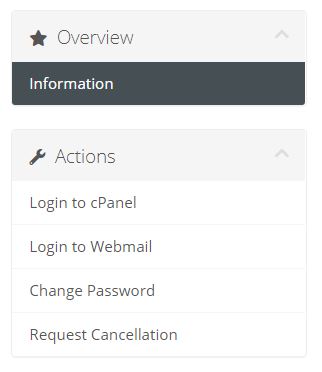
On the left-hand side, you will see the "Overview" section. Click on "Login to cPanel".

Step 2
Once logged into cPanel, click "IP Blocker" under the "Security" section.

Step 3
To block an IP address or range of IP addresses you will need to complete the following:
Enter the IP address or range in the Add an IP or Range. Click Add.

Unblock an IP address
To remove an IP address from the list of blocked IP addresses, click Delete in the Actions column. Click Remove IP.
Need further assistance?
If you require further assistance please contact the ProStack team and we can help get this resolved for you! Get in touch today!


