This article will explain how to add an IP to the Firewall in WHM.
Step 1
Log into your WHM account.
Step 2
Once you're logged in, navigate to the ConfigServer Security & Firewall section by searching for it in the search bar or finding it in the Plugins section of the menu.

Step 3
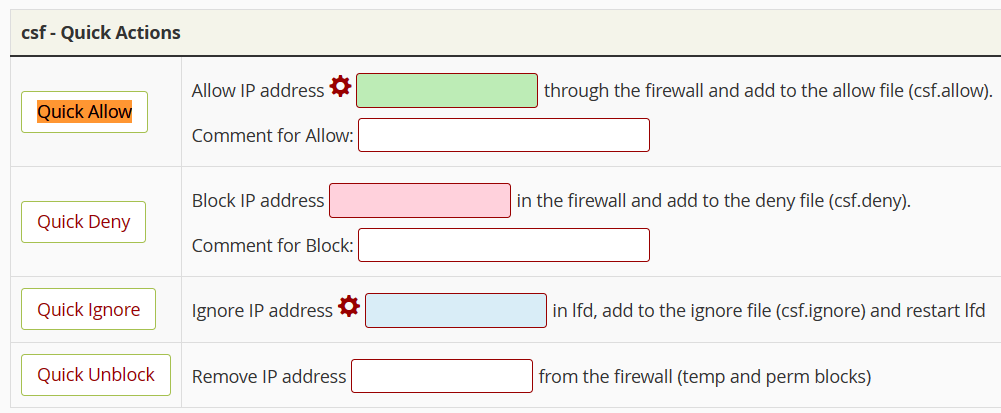
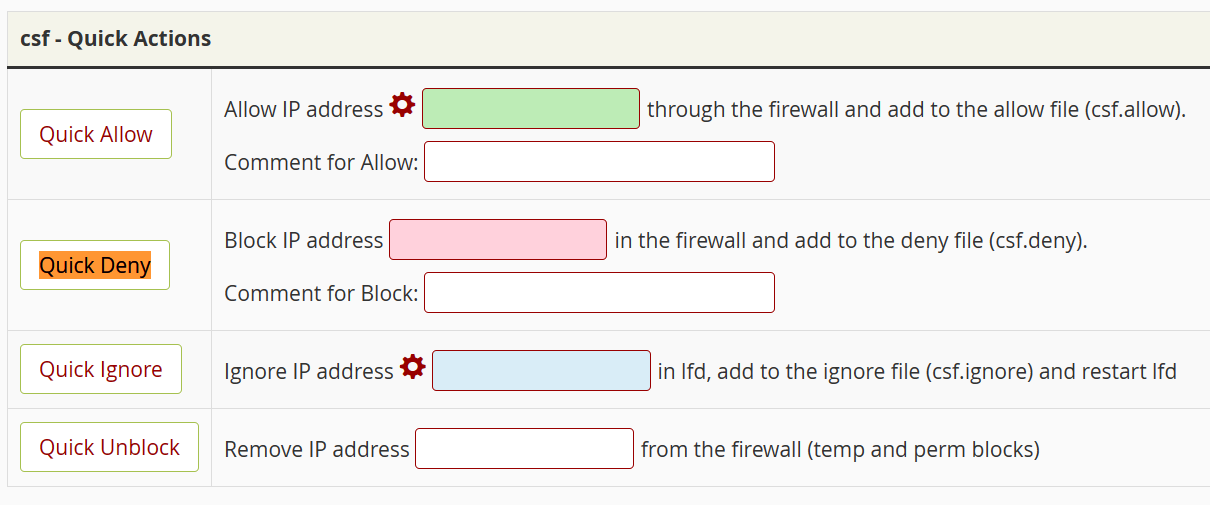
On the ConfigServer Security & Firewall page, search for the Quick Allow section. Enter the IP address you want to add to the firewall into the IP address field and follow the on-screen instructions as required.
The IP address will now be allowed to access your server without being blocked by the firewall.

Step 4
To block an IP in the Firewall, add the IP address in the Quick Deny section and follow the on-screen instructions as required.

Need further assistance?
If you require further assistance please contact the ProStack team and we can help get this resolved for you! [Get in touch today!]


