![]()
![]()
![]()
Host Access Control allows you to configure specific rules to allow or deny access to your server and its services based on the IP address attempting to connect.
This article will explain how to add an IP in Host Access Control.
Step 1
Log into your WHM account.
Step 2
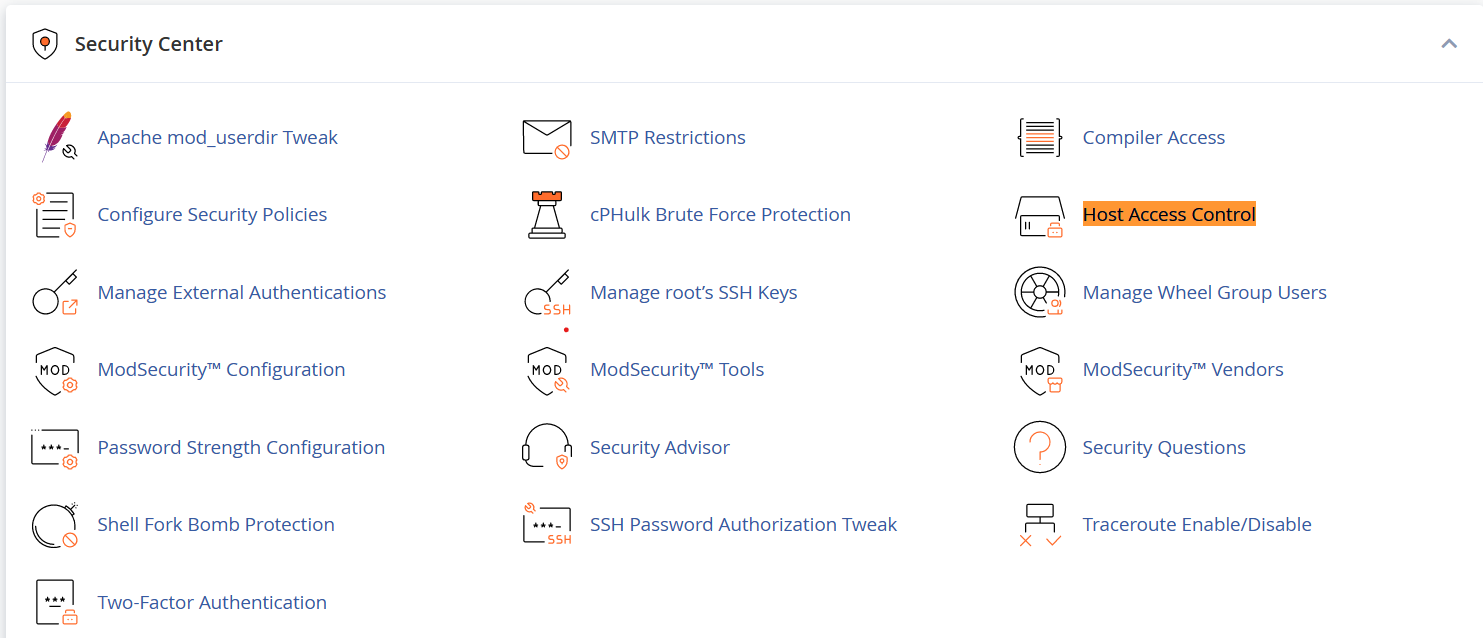
Once you're logged in, find the Security Center section on the left-hand side menu and click on Host Access Control.
Step 3
Here you'll see a list of IPs that have been granted access to your WHM account. You can use the Host Access Control feature to allow or block access to the following services for specific IP addresses:
- cPanel (cpaneld)
- WHM (whostmgrd)
- Webmail (webmaild)
- Web Disk (cpdavd)
- FTP (ftpd)
- SSH (sshd)
- SMTP (smtp)
- POP3 (pop3)
- IMAP (imap)
To create a rule, enter the service you want to create the rule for, the IP address(es) you want to allow or deny, and the action you want to take (allow or deny).
Enter the IP address you want to add in the Access List field. Click on Save Host Access List.

Need further assistance?
If you require further assistance please contact the ProStack team and we can help get this resolved for you! [Get in touch today!]

![]()
![]()
![]()
