This article will explain how you can clone your website using the Staging/Cloning feature in WordPress Toolkit.
This feature allows you to clone an existing site to a completely safe staging area (its own database) to allow you to experiment without causing any risks to the live site. You can then sync it back to your live website when you're ready.
Step 1 (a) - Logging into cPanel directly
You can log in directly to your cPanel account by using your domain name followed by /cPanel in the URL.
e.g - https://domainname.co.uk/cpanel (Note, please change domainname.co.uk to your own domain name)
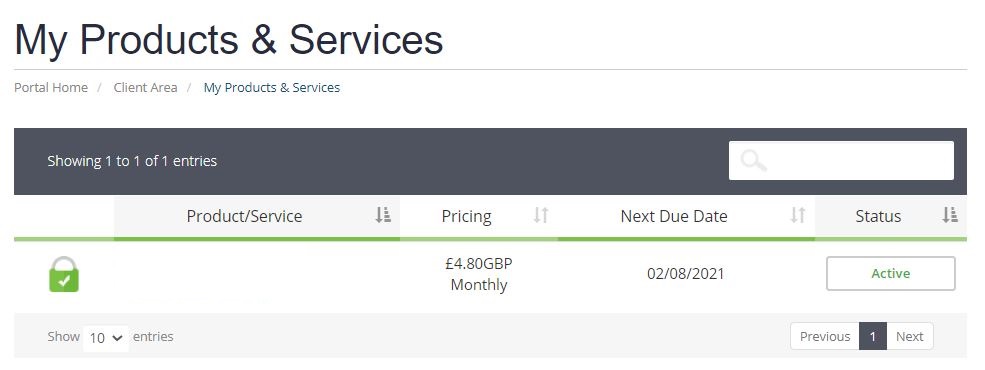
Step 1 (b) - Logging into cPanel via the Client Portal
Once logged in to your client portal, click on the Services tab and then My Services. Select the Active button (under the Status column) for the service you wish to update.
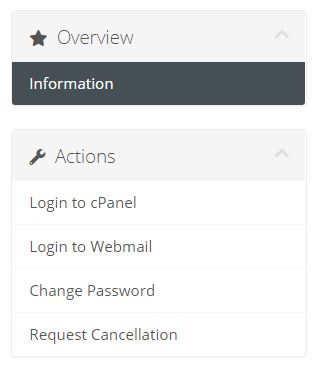
On the left-hand side, you will see the Overview section. Click on Login to cPanel.
Step 2
From your cPanel account, scroll down until you have found the Applications section, and then click on WordPress Toolkit.
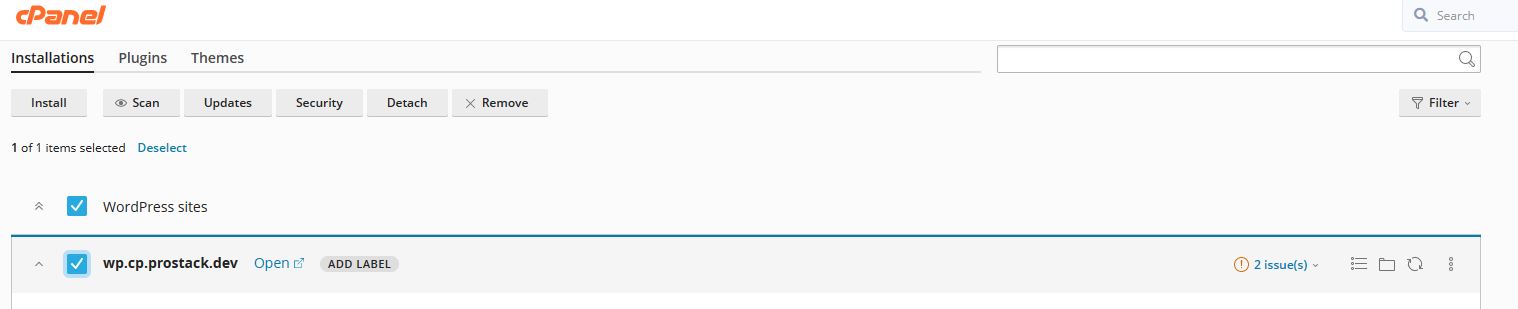
Step 3
Select the website you wish to clone, by clicking on the tick box on the left-hand side.
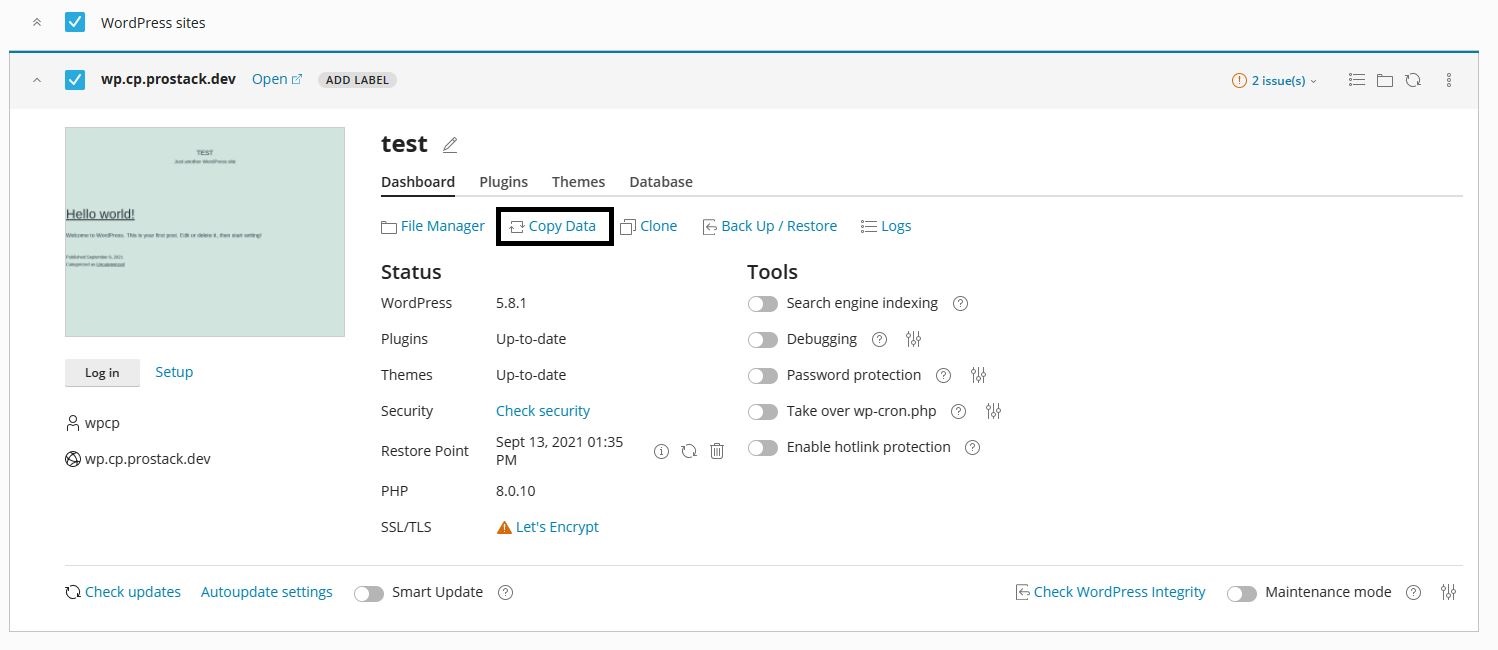
Step 4
Click on Copy Data.
Step 5
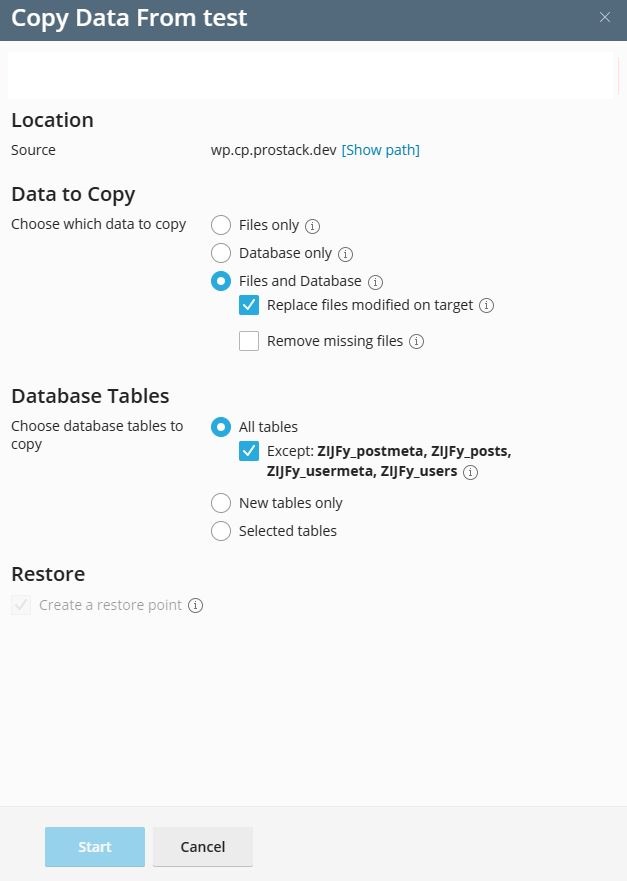
Choose the target you would like to copy to, select the data and/or files, select the database tables and then choose to create a restore point.
Click on Start to begin copying your website to the target website.
Need further assistance?
If you require further assistance please contact the ProStack team and we can help get this resolved for you! Get in touch today!

![]()
![]()
![]()
