The WordPress Toolkit is packed full of features that allows you to install, configure, and manage your WordPress sites all from your cPanel account. (Please note: The WordPress Toolkit works only on MySQL 5.7 + and EA4)
WordPress Toolkit Deluxe version is now available to use for all cPanel users (The additional features are highlighted below).
WordPress Toolkit Deluxe features include:
- Customizable Installation
- Manage Existing Installations
- Website Dashboard
- 1-Click Login
- Change Admin Password
- Change DB Password
- Open DB in phpMyAdmin
- Restore Backups
- Manual Updates
- Single Site Auto Updates
- Search Engine Indexing Management
- Automatic Hardening
- Password Protection
- Maintenance Mode
- Debug Management
- Plugin and Theme Sets Installation
- Plugin & Theme Sets Management
- Cloning
- Staging
- 1-Click Hardening
- Mass Hardening
- Mass Updates
- Security Rollback
- Smart Updates
Step 1 - How do I access the WordPress Toolkit?
Get in touch with our technical support team via a support ticket and we'll get this activated in your cPanel account for you!
Step 2 (a) - Installing Wordpress via Wordpress Toolkit
You can log in directly to your cPanel account by using your domain name followed by /cPanel in the URL.
e.g - https://domainname.co.uk/cpanel (Note, please replace domainname.co.uk to your own domain name)
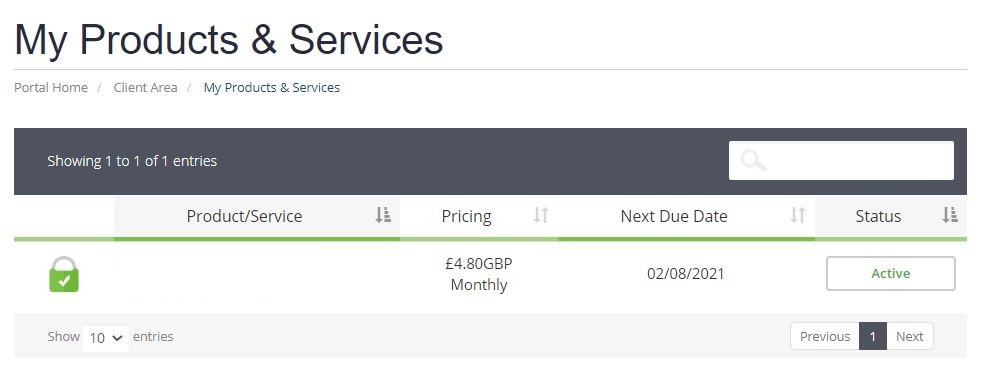
Step 2 (b) - Logging into cPanel via the Client Portal
Once logged in to your client portal, click on the Services tab and then My Services. Select the Active button (under the Status column) for the service you wish to log in to.
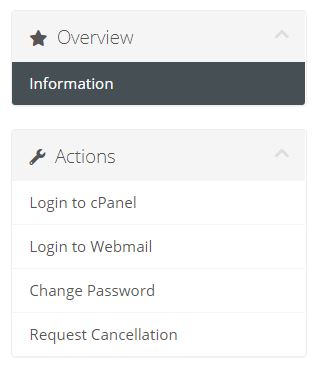
On the left-hand side, you will see the Overview section. Click on Login to cPanel.
Step 3
Once logged into your cPanel account, scroll down until you have found the Applications section, and then click on WordPress Toolkit. This interface allows you to manage your WordPress installations.
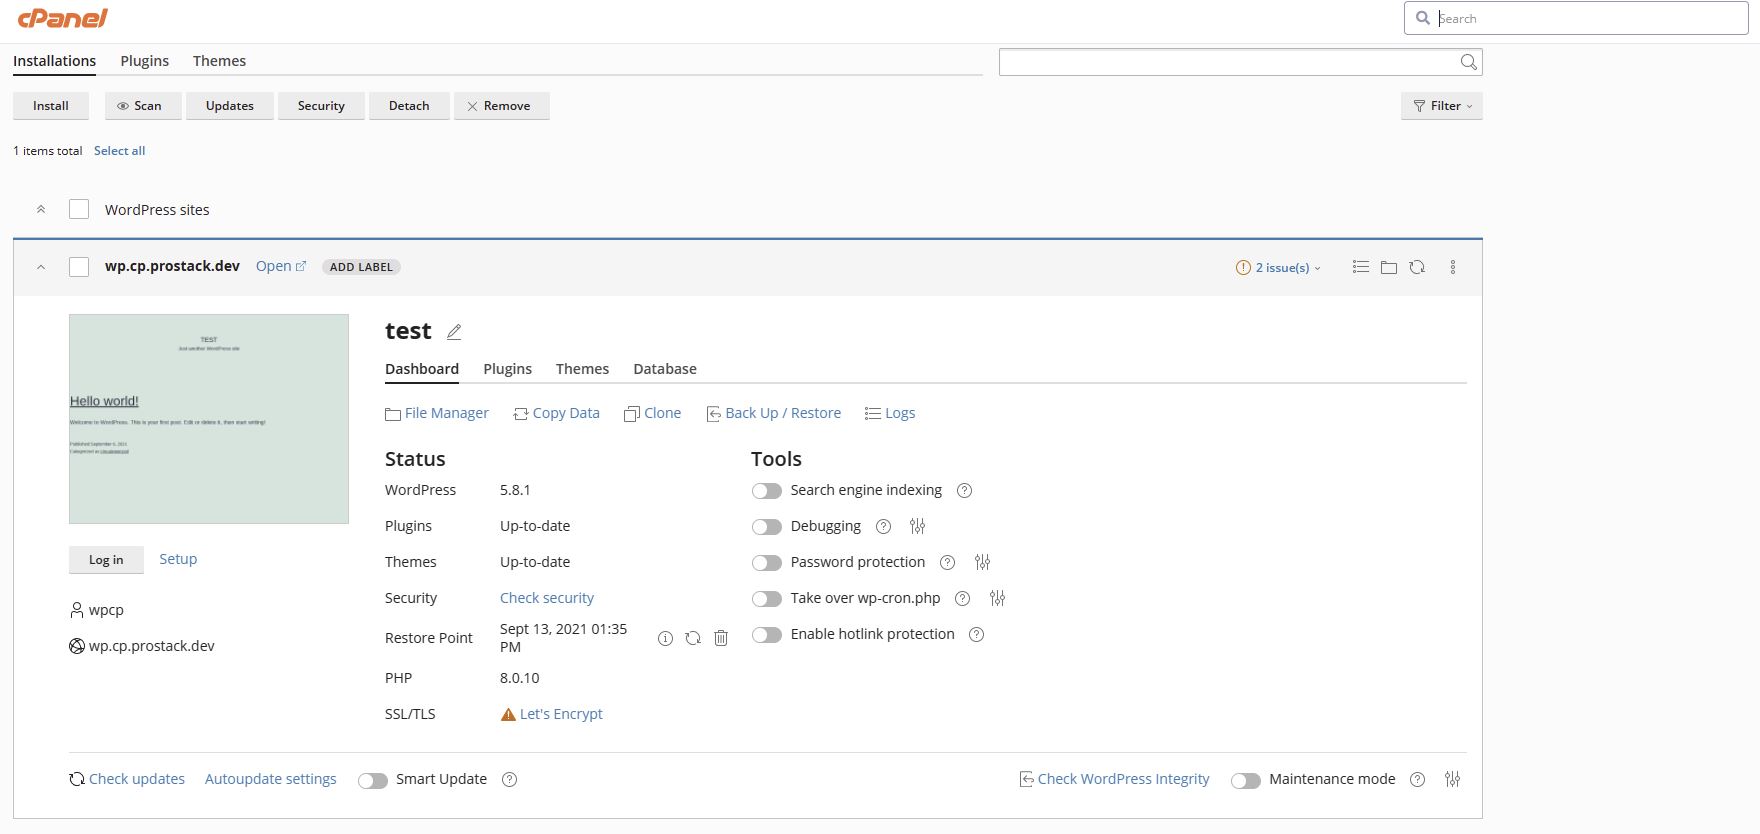
Step 4
In the WordPress Toolkit dashboard, click on Install located on the left-hand side.

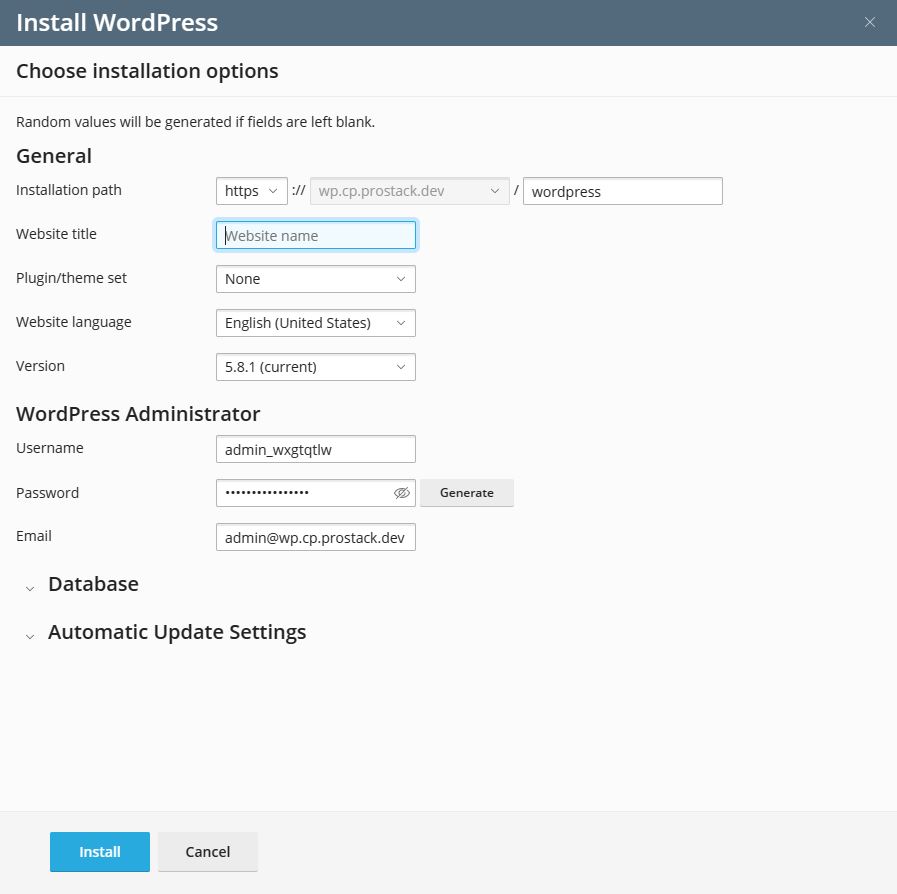
Step 5
Here, you can configure your new WordPress install by filling in the following:
- Enter your domain name
- Enter a subdirectory if necessary
- Enter your admin username
- Generate a password
- Enter your email address
- Enter your database name
- Enter a table prefix if required
- Enter your database username
- Generate a database password
Once you have filled in the required information, click Install.
Need further assistance?
If you require any further help, our friendly team is on hand to advise. Get in touch today!

![]()
![]()
![]()
