
This is part 1 of our Cito series – we’ll be publishing a set of articles talking about how to use our Cito hosting platform. We’re starting with WordPress, since it’s one of the most commonly deployed content management systems on the web, and one our customers love.
Cito is built to get you up and running fast, with a set of built-in Deployment Profiles for common software, so you can deploy in a couple of clicks.
Here’s how to go from nothing to a live WordPress site, and what Cito does in the background to keep it healthy.
Step 1: Use the Create Site wizard
Log into Cito and click Create Site in the top right. Then, select ‘WordPress’ from the list.
Cito installs the latest version of WordPress and sets up the MySQL database for you. There’s no separate “create a database” step, and nothing to configure by hand.
Step 2: Enter your domain
Type the domain in without the www. You can pick a username if you want one, or leave it blank and Cito will generate one for you.
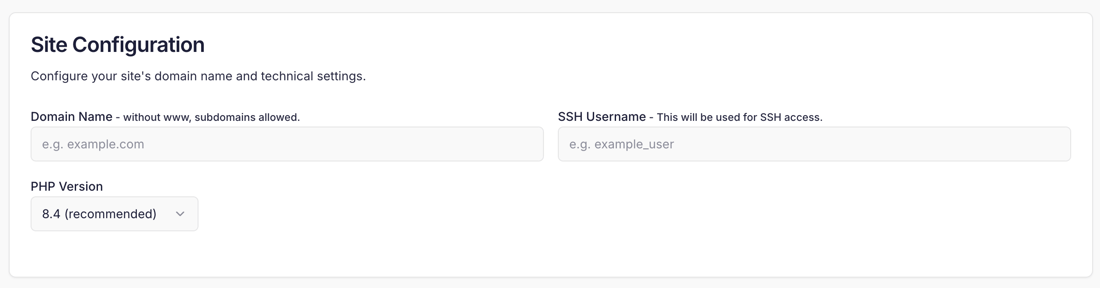
Cito selects the newest available PHP version by default. Unless you’ve been told the site needs something specific, leave it as it is. Click Next and the site is provisioned.
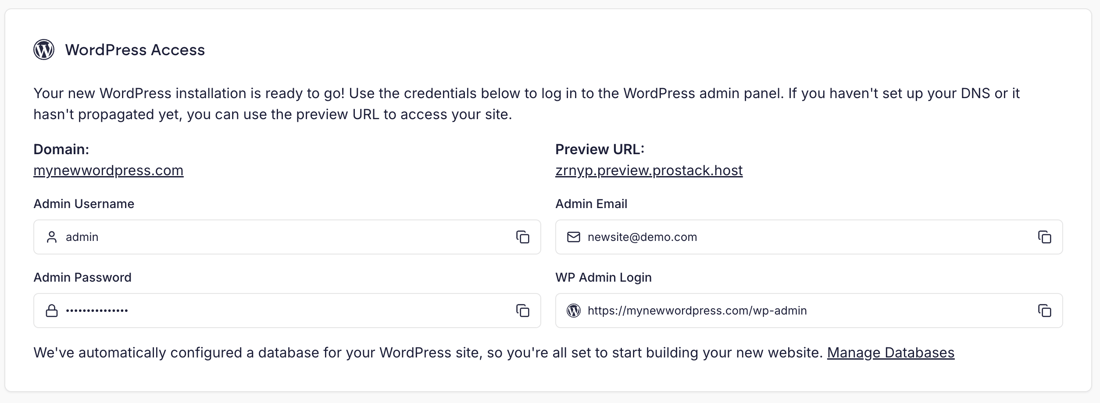
When it’s done, you’ll see the site details, including a preview URL. This lets you build and test the site, and show it to your client for sign-off, before you go anywhere near their live domain.
Step 3: Finish the WordPress setup
Visit the domain (or the preview URL) to run WordPress’s own setup. You’ll be prompted to choose the language, set the admin login and name the site. That’s it. You’ve got a working WordPress install ready to build on.
WP-CLI is installed for every site too, so if there’s someone on your team who prefers the command line, it’s already there for them.
Going live: DNS and SSL
Once you’re happy with your site, it’s time to make it live. There are two steps that we make easy. Both are (mostly) handled for you.
DNS. Point the domain’s A record at your Cito server’s IP address. Once it resolves to the server, the site is live on the real domain. Until then, you and the client can keep working on the preview URL. You’ll find the IP on the Cito homepage, under the server name.
SSL. You don’t need to request a certificate or run anything. The moment the domain points at the server, Cito issues a free Let’s Encrypt certificate automatically and keeps it renewed, with checks running every few minutes and renewals happening overnight. You don’t need to think about anything here.
If you’re using Cloudflare or another CDN service, Cito won’t issue a certificate, because the CDN is handling SSL at its own edge.
Cito keeps an eye on your WordPress version
Cito helps by showing you the WordPress version on each site and flagging the ones that have fallen behind.
An out-of-date core is one of the most common ways WordPress sites get hacked. WordPress will automatically update by default, but we surface the version for you, so you can spot the stragglers at a glance, rather than finding out the hard way.
…And we also keep things secure
We’ve partnered with Monarx to provide anti-malware protection for all Cito sites. We automatically scan your servers for malicious files and let you know if we’ve detected anything. You can upgrade to Active Protection for automatic cleanup, too.
You can read more about how we use Monarx to protect your server in our blog post.
Updates and cloning
It’s important to keep your site up to date – making sure your plugins and themes are running their latest versions means your site performs better, has fewer bugs, and is less exposed to security issues. But upgrading often isn’t straightforward, and sometimes things break.
Cito helps by offering a Clone feature, which allows you to take a staging copy of your site. You can then update everything without affecting the live domain, giving you the ability to test changes without worrying about causing any downtime. The clone wizard is easy to use and automatically reconfigures your site’s base URL, so you don’t need to worry about changing anything manually.
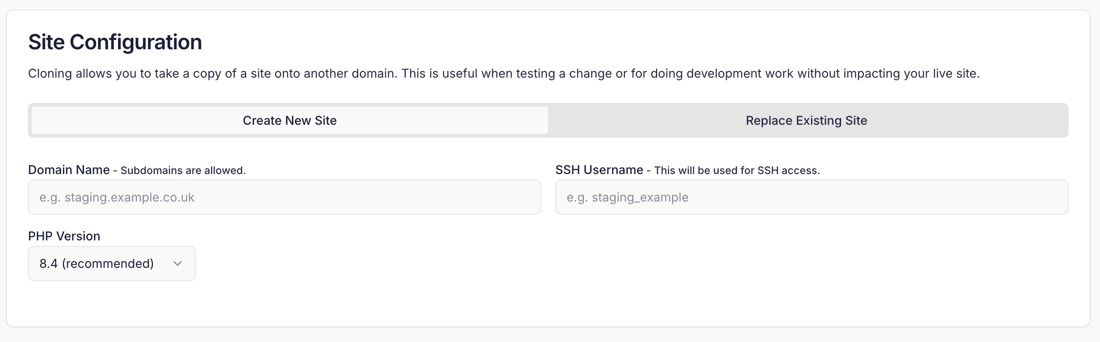
You can read more about cloning in the documentation.
Prefer to just ask? Use the MCP server
If you or a developer use Claude, Claude Code or Cursor, you can manage Cito by asking it in plain English. Cito’s MCP server connects the AI tool straight to your servers.
To connect Claude Code, run:
claude mcp add --transport http Cito https://mcp.prostack.uk/mcp
Then start a session and use /mcp to authenticate. From there, you can ask for things like:
- “Clone mywebsite.com to staging.mywebsite.com”
- “Show me the last 50 lines of the error log for example.com”
- “Is my server healthy?”
- “Create a new WordPress site”
Cloning a client site to a staging copy for testing, or pulling the logs when someone reports a problem, becomes a one-line request. Anything destructive, like deleting a site or database, asks you to confirm first.
We’ve written more about what it can do (and the guardrails it works within) in our MCP server series.
Need help?
Full walkthroughs for everything above live in the Cito docs. And of course, we’re on hand 24/7/365 to assist you with anything you might need – get in touch.